| | | | |
| |


|
|
Brigitte decides to paint the house – on canvas, with oils, that is. She decides that Samuel needs a facelift before his image is captured forever.
 |
 |
 |
 |
 |
 |
|
 |
DO take the opportunity to update the insulation on your house.
|
 |
DON’T carry long strips of fibre-cement siding by yourself. The concrete is not as flexible as traditional siding so it can break.
|
|
 |
 |
 |
 |
A Nip and a Tuck
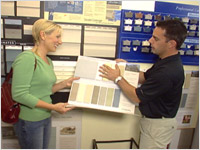
- Choose the type of siding that you want for your house. Brigitte chose fibre-cement siding for a lot of really good reasons. It is made with 90% Portland cement and sand, 6% cellulose fibres and 4% a “secret recipe” of water and additives. The result is a durable product that has a heritage look. It installs just like wood or aluminum, it won’t expand or contract, hail won’t hurt it, it won’t burn, and you can paint it any colour you want. (see fig. A)
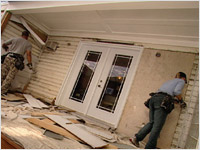
- This project starts with one of Brigitte’s favourite things – destruction. Get out the crowbars and levers and remove all the old siding. (see fig. B)
 |
|
 |
| Fig. A |
|
Fig. B |
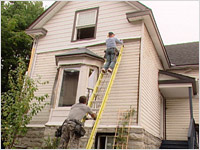
- If you’re working up high, secure the ladder at the top to prevent it from slipping side-to-side. Always have someone hold the ladder at the base. This person isn’t there to prevent the ladder from tilting to the side. This person prevents the feet of the ladder from sliding outwards away from the wall. This is a common cause of injuries off ladders. (see fig. C)
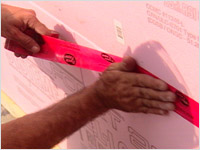
- The next step is the installation of rigid insulation. The insulation has tongue and groove edging so that the pieces fit snugly together. Rigid insulation is easily cut to measure using a utility knife. Nail it into place. Seal the seams with fibreglass tape. (see fig. D)
 |
|
 |
| Fig. C |
|
Fig. D |
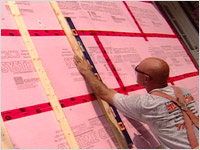
- The next step is strapping. And we don’t mean corporal punishment. The strapping is the wood to which you will attach the siding. Install 1 x 3 pieces of wood over the insulation, nailing them to the studs in the back. Begin by placing these 1 x 3 strips as a frame around the outside of the walls – top, sides and bottom. Then run the strips vertically at 16” intervals. (see fig. E)
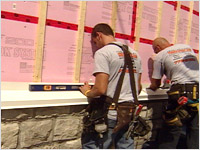
- Before you start installing the siding, the metal starters and capping for windows and corners needs to be done. This is a specialized job for people with the proper training and all the fancy tools. Pull up a chair, pour yourself a cup of coffee and enjoy watching the experts flex, snip and install the metal work. (see fig. F)
 |
|
 |
| Fig. E |
|
Fig. F |
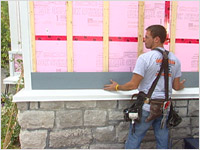
- Finally, you get to the fun part. Measure and cut the fibre-cement siding to fit your exterior wall. Start at the bottom and work up. Nail the first piece into place. Make sure it’s level! (see fig. G)
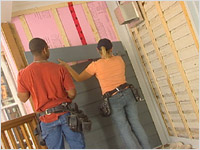
- Measure up 7 inches from the bottom of the first piece and mark it. This is where the bottom of the next piece sits. Nail the next strip in to place. Make sure it’s level! Work your way to the top. (see fig. H)
 |
|
 |
| Fig. G |
|
Fig. H |
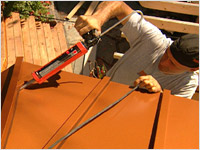
- When all the siding is in place, finish the soffits and flashing and antique metal roofing over the bay windows (you can have your experts do this) and your work is done. (see fig. I)
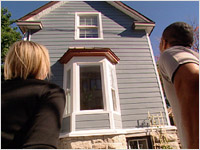
- Your house now has a facelift suitable for any portrait. And remember that art is art if it provokes an emotional response – and it doesn’t necessarily have to be a positive response. (see fig. J)
 |
|
 |
| Fig. I |
|
Fig. J |

Siding (manufacturer). For locations please check their website.
|
|
James Hardie
|
| Siding labour, capping, custom eaves troths |
|
Sidtech
76, Rue Lois – Unité 4
Gatineau, QC J8Y 3R4
819-778-6363
|
|
|
|