| | | | |
| |


|
|
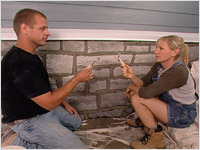
When Brigitte’s friend, Robin, points out that the mortar on different parts Brigitte’s foundation doesn’t match, there’s no chance that Brigitte can live with that!
 |
 |
 |
 |
 |
 |
|
 |
DO wear a dust mask when you remove the old mortar. You don’t want fine dust particles in your lungs.
|
 |
DON’T try to do too much at once. Apply the mortar in several steps to prevent shrinkage.
|
|
 |
 |
 |
 |
Giving New Life to Old Joints
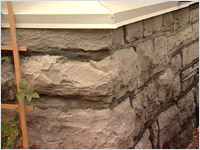
- Over time houses shift and mortar shrinks creating cracks in the finish. When this happens, water can get in behind the mortar and start to deteriorate the mortar from within. This causes huge problems. Repoint before your mortar reaches this stage. (see fig. A)
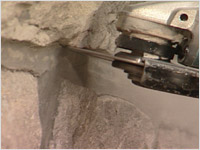
- First you need to remove the old mortar to a depth of about 1 inch. You need this depth to ensure a proper bond for the new mortar. You can use power grinders to aid you in this step but be careful if the stone is of heritage value. A hand chisel takes longer but is safer for valuable older stone. (see fig. B)
 |
|
 |
| Fig. A |
|
Fig. B |
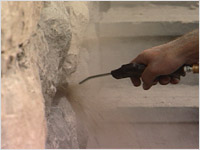
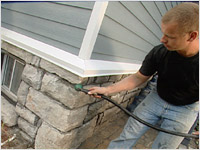
- When the old mortar is removed, clean the area with an air compressor to remove any dust and then rinse with water. (see figs. C & D)
- Mix the mortar according to package directions. When you apply the mortar, the stone should be damp. This helps to create a good bond.
 |
|
 |
| Fig. C |
|
Fig. D |
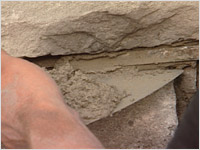
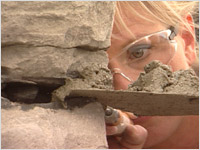
- You’re now ready for the first application. Load up a trowel with mortar. Use a “jointer” (a tool with a long, flat blade especially for repointing) of the appropriate size. The jointer should not be bigger than the opening. Pull a small quantity of mortar off the trowel and push it into the joint to a depth of about ¼ to ½”, making sure to pack it well into the back. (see figs. E & F)
 |
|
 |
| Fig. E |
|
Fig. F |
- Let this first application dry until it is set but can still be slightly dented with the thumb. You can now apply the second coat, to a similar thickness. It may take several applications to reach the required depth. The final application of mortar should be about 1/8” below the surface of the stone so that the stone will stand out against the joints.
 |
|
 |
| Fig. G |
|
Fig. H |
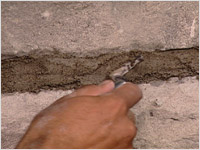
- While the final application is still slightly damp, use a slicker tool to smooth over the edges of the joint. (see figs. G & H)
- Use a soft bristle brush to remove any excess mortar from the stone face.
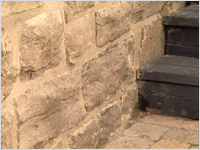
- Now the old joints look and feel like new. (see fig. I)
 |
| Fig. I |

| Foundation re-pointing |
|
Korek Masonry
Adrian Korek
613-798-4401
|
| Work Crew |
|
S.J. Blondeau Landscaping Services
Steve Blondeau
613-978-4000
|
Bergerac Pavers (manufacturer) available at Merkley Supply Ltd. For other locations, please check their website.
|
|
Permacon
|
| Bergerac Pavers (supplier) |
|
Merkley Supply Ltd.
100 Bayview Rd.
Ottawa, ON K1Y 4L6
613-728-2693
|
|
|
|