| | | | |
| |


|
|
It’s hard to concentrate on installing laminate flooring after a ride in a Lamborghini. Luckily, it’s easy to install so Brigitte could daydream about her next ride while she worked.
 |
 |
 |
 |
 |
 |
|
 |
DO make sure that you are installing over a level subfloor. Plywood underlay might be required if you have a few lumps and bumps.
|
 |
DON’T worry about glue, mortar or nails. A foam underlay holds the laminate in place. |
|
 |
 |
 |
 |
Floored by How Easy This Is
- Anthony didn’t nail or glue the laminate in his daughter’s room. Instead he rolled out a layer of foam underlay. This underlay prevents the laminate floor from slipping, provides extra cushioning and some sound deadening. Work the foam underlay in small sections to prevent it from being rippled or torn.
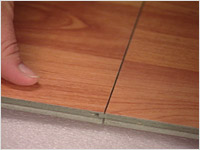
- The laminate floor has tongue-and-groove construction so the panels simply snap and lock together. Place the first panel in position leaving a small gap between the panel and the wall for expansion. (This gap will be covered by the quarter round later.) Brigitte and Anthony placed some small scraps of the flooring against the wall to make a uniform gap the entire length of the panel. (see fig. A)
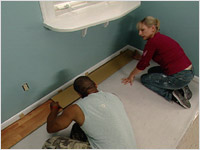 |
|
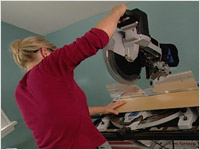 |
| Fig. A |
|
Fig. B |
- Continue to run the first row of cork panels along the wall, snapping the ends together.
- When beginning the second row, the first piece should be cut in half so that the joints of the panels will be staggered for extra strength. (see fig. B)
- You want to make sure that each panel is securely locked into position against the previous piece, leaving no gaps. Sometimes this requires a little gentle “persuasion.” Place a 2 x 4 against the outer lip of the panel to be fitted and gently hammer against the 2x4 until the pieces are securely locked together. (see figs. C & D)
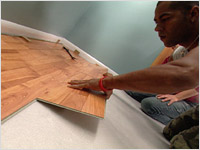 |
|
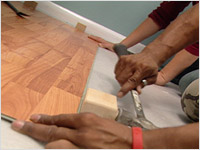 |
| Fig. C |
|
Fig. D |
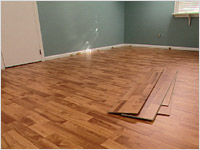
- Keep “snapping and locking” until the entire floor area is covered. The panels can be easily cut to fit in difficult corners and odd-shaped areas. (see fig. E)6
- Finish the edges with baseboard and quarter round. (No, don’t go for another drive or a swim in the pool first! You know what happens when you don’t do the finishing work right away…) Do the trim work and you have a great-looking floor that will last for decades. (see fig. F)
 |
|
 |
| Fig. E |
|
Fig. F |
|
|