| | | | |
| |


|
|
For Brigitte, a cottage weekend without indoor plumbing and her cappuccino maker is bad enough. But a broken dock is intolerable. Luckily for her, there are battery-operated power tools.
 |
 |
 |
 |
 |
 |
|
 |
DO start out with a level foundation. There’s nothing relaxing about sitting on a crooked dock.
|
 |
DON’T forget to extend your dock up on to the shoreline to accommodate higher water levels.
|
|
 |
 |
 |
 |
Go Jump in the Lake – Off a New Dock
- Start with your shoreline. Every shoreline is different so you need to work with what nature gives you. In Brigitte’s case, there is a stone foundation already in place that she reuses for the new dock. Some of those rocks had shifted over times so Brigitte spent some time shifting rocks around until they were as close to level as rocks can be. (see fig. A)
- Now consider wood. Don’t use pressure-treated wood because the chemicals can leach into the water. Cedar is best.
 |
|
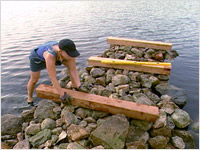 |
| Fig. A |
|
Fig. B |
- Don’t make your dock any narrower than three feet. You need room for chairs and for people to walk past each other comfortably.
- Brigitte’s dock is 24 feet long. The base for this length of dock is a series of four 6 x 6 beams cut to the desired width and then laid horizontally across the rocks at 6-foot intervals. These are called “sleepers.” Use smaller rocks to shim these beams into position until they are solid and level. (see fig. B)
 |
|
 |
| Fig. C |
|
Fig. D |
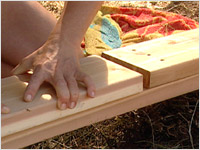
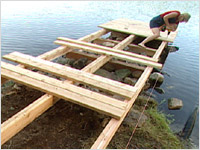
- You need solid beams to run the length of the dock – two or three depending on the width you are building. You can create these beams by “scabbing.” This means screwing two thinner pieces of board together to make one thicker beam. Lay out two 12-foot deck boards so that they butt up end-to-end, flat on the ground. Measure in six feet from the end of one. At this six-foot mark, place another 12-foot deck board on top of the other two and screw into place. This board overlaps the seam of the lower boards and joins them together. This leaves you with six feet left over at either end. Cut another 12-foot deck board in two and screw these pieces into place at either end. Now you have a solid 24-foot beam. (see figs. C & D)
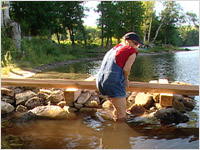
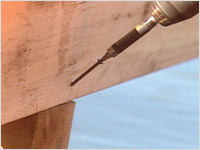
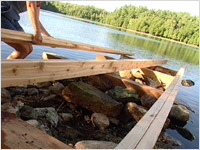
- Place your beams lengthwise across the sleepers. Check to be certain that they are level and straight. Screw into place, “toenailing” the screws. (This means screwing them in at an angle.) (see figs. E & F)
 |
|
 |
| Fig. E |
|
Fig. F |
- Your foundation is now ready for the deck boards. Cut them to the desired width. Brigitte let her deck boards hang 6 inches over either side. It looks nicer and gives you some extra width.
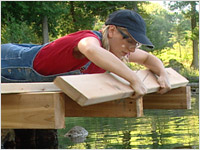
- We start at the ends of the dock. First, we place “cappers” at either end. These are deck boards screwed into place on the vertical surface that give a finished look to the dock. (see fig. G)
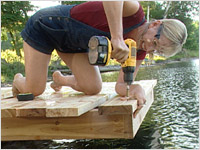
- Next, place your first two deck boards, one at either end. You have to measure carefully and make sure that these boards have the correct 6-inch overhang. (see fig. H)
 |
|
 |
| Fig. G |
|
Fig. H |
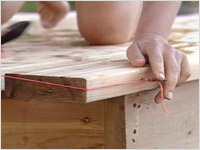
- Now use these first two boards and the cappers to run a string line that helps you maintain a straight line for the rest of your deck boards. This saves countless time that you would otherwise spend measuring.
- To do this, put a temporary screw into the cappers. Wrap a string around the screw at one end, bring it around the end of the deck board, run it down to the far end of the dock around that deck board and then wrap the string around the screw in place there. Now you can just tuck the end of each deck board up next to the string and screw it into place – no measuring. (see figs. I & J)
 |
|
 |
| Fig. I |
|
Fig. J |
- Now, bring out your Adirondack chair and your drink with an umbrella in it and enjoy.
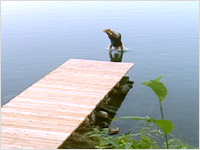
- Or, go jump in the lake! (see fig. K)
 |
| Fig.K |

| Lumber and Supplies |
|
Home Hardware
Minden, ON
|
| Cappuccino Maker (manufacturer). For locations, please check their website. |
|
Breville
|
|
|
|