| | | | |
| |


|
|
Feeling cramped? Need more room to stretch out? Moving a wall can be an ideal solution to crowded quarters. Dig out your sledgehammer for a home renovation that will be a “smashing” success.
 |
 |
 |
 |
 |
 |
|
 |
DO make sure that the wall is not load bearing.
|
 |
DON’T start without putting on goggles and a dust mask. Protect your lungs!
|
|
 |
 |
 |
 |
And the Walls Come Tumbling Down
- Start with a plan. If you’re going to break down a wall in your house, make sure that you don’t regret your decision. Measure carefully to make sure that your plans work.
- Check that the wall you intend to move is not a load bearing wall. Exterior walls do most of the work of holding up your house but some interior walls also carry load. If you’re not sure, consult a professional. This is important. A bigger bathroom is NOT more important than a stable house!
- Check for any plumbing or electrical wiring that might be in the wall. If there is electrical wiring, cut the power to the area before starting work. Mark any areas that contain plumbing so you will know to work carefully there.
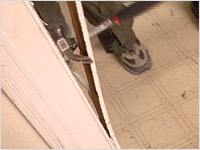
- Remove any mouldings or trim. Save them for re-use if required. (see fig. A)
 |
|
 |
| Fig. A |
|
Fig. B |
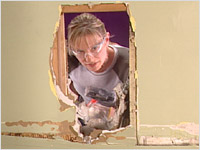
- Once you’ve made your measurements, you’re almost to the point where you can get your sledgehammer. But before you start smashing, you want to protect the area that you DON’T want to demolish. Make a cut in the drywall or plaster where you want the work to stop. This will prevent the damage from spilling over into areas that you want to keep. (see fig. B)
- To protect the rest of your house from the dust clouds you are about to create, tape plastic sheeting up over the entrance. Cover any furniture that might be exposed to the dust.
 |
|
 |
| Fig. C |
|
Fig. D |
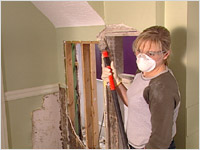
- Got your goggles? Check. Dust mask? Check. Sledgehammer? Check. Crowbar? Check. Go crazy! (see fig. C)
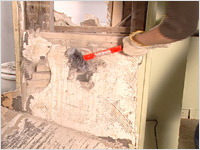
- Work in layers. Remove the drywall or plaster. Take time to admire the many layers of wallpaper or dreadful colours of paint you come across. Remove any lath or strapping. Clean up any nails immediately so you don’t step on them! (see fig. D)
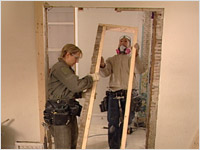
- Cut the studs to the required height. Then remove the top plate and pry up the bottom plate boards. (see fig. E)
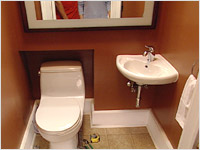
- Tidy up the edges with drywall cutting tools so that it’s ready for finishing. Take a deep breath and enjoy the new view. (see fig. F)
 |
|
 |
| Fig. E |
|
Fig. F |
|
|