| | | | |
| |


|
|
Vinyl flooring can be an easy and practical solution to high traffic areas that require frequent cleaning. And installing vinyl flooring can be easily handled by do-it-yourselfers.
 |
 |
 |
 |
 |
 |
|
 |
DO select good quality vinyl flooring. Superior quality vinyl means long-lasting superior quality shine.
|
 |
DON’T “guesstimate” the fit of the flooring. Make a paper pattern to guarantee your vinyl has a snug, professional fit.
|
|
 |
 |
 |
 |
Roll Out the Vinyl
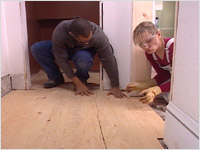
- A floor is only as good as its underlay. You want a smooth stable surface for vinyl flooring so that there are no bumps or wrinkles that show wear more readily than the rest of the floor. That means you need to install a ¼ inch plywood underlay in the area. (see fig. A)
- While you’re working on this, unroll the vinyl flooring and turn it over to flatten it out and to make it easier to manipulate.
 |
|
 |
| Fig. A |
|
Fig. B |
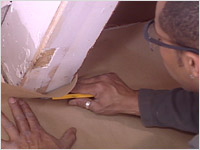
- Make a paper pattern of the floor area. Mark any corners, indents or openings. In the middle of this paper pattern, make some diamond-shaped holes. (You’ll find out why in a minute.) (see fig. B)
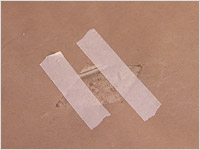
- Place this paper pattern over the vinyl flooring, placing straight edges against the straight edge of the flooring. Tape it down around the edges. Place tape over the diamond-shaped holes in the middle to keep the paper from shifting in the middle while you work. (Ah, ha!) (see fig. C)
 |
|
 |
| Fig. C |
|
Fig. D |
- Use a black marker to trace the shape of the room on to the flooring. Draw any indents or openings.
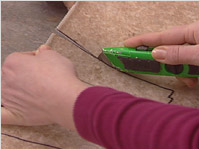
- Use a vinyl-flooring knife to cut around the pattern you have just drawn. You have just created a vinyl floor that fits perfectly in to your room. Ta da! (see fig. D)
- Of course, you still want to double-check your work so do a dry fit of the flooring.
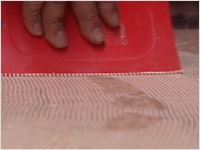
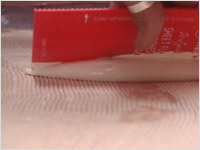
- You’ve done it perfectly, right? You’re now ready for the glue. Use a trowel to lay down a layer of glue on the plywood underlay. Work in small areas at a time. (see figs. E & F)
 |
|
 |
| Fig. E |
|
Fig. F |
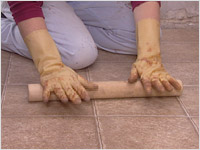
- When the glue is evenly distributed, press the flooring into place. Use a roller to smooth it out, get rid of any air bubbles and firmly attach the flooring to the underlay. Continue gluing until the whole floor is installed and rolled. (see fig. G)
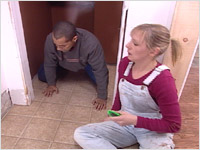
- Trim the edges with quarter-round and your new vinyl floor is complete. (see fig. H)
 |
|
 |
| Fig. G |
|
Fig. H |
|
|