| | | | |
| |

|
|
Beware Brigitte with a glue gun in her hand! Her plan to jazz up her bathroom cabinet goes terribly wrong. She ends up with a broken cabinet, a broken toilet and several inches of water on her bathroom floor. Oops!
 |
 |
 |
 |
 |
 |
|
 |
DO select your toilet carefully. The distance that your drainpipe is away from the wall determines the size of toilet you need. They come in different seat heights too. Test-drive them!
|
|
DON’T be intimidated. Changing a toilet is a relatively easy job. (A little smelly perhaps, but easy.)
|
|
 |
 |
 |
 |
Seating the Throne
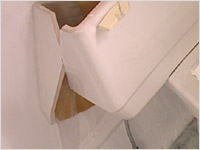
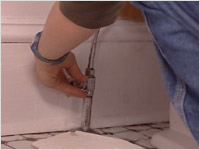
- Before removing the old toilet you need to empty the water out of the tank. Brigitte used the unorthodox method of dropping her medicine cabinet on the tank thereby draining it very effectively, if messily. We suggest that you cut off the water supply and then flush the water out of the tank. It saves mopping time. (see figs. A & B)
 |
|
 |
| Fig. A |
|
Fig. B |
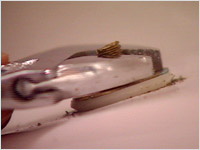
- Loosen the plastic covers over the bolts holding the bowl on to the floor by tapping them with a hammer. Lift the plastic covers off and unscrew the bolts. (see fig. C)
- Gently rock the toilet back and forth to break the wax seal and then lift off the old toilet.
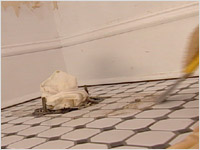
- Pee-eww! Stuff some old rags into the hole to prevent the smelly gases from escaping into the bathroom. Clean the old wax and any residue from around the pipe area to prepare for the new toilet. (see fig. D)
 |
|
 |
| Fig. C |
|
Fig. D |
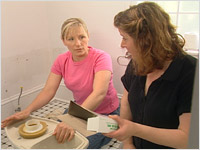
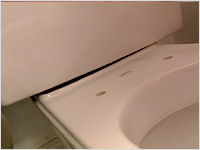
- Place the new toilet upside-down on a soft, non-abrasive surface. Remove the plastic cover from the new wax bowl ring and place it around the discharge opening with the flange pointing away from the bowl. The wax bowl ring provides a seal that is odour proof, gas proof and waterproof. (see fig. E)
- Remove the rags from the drainage pipe and set the bowl in place.
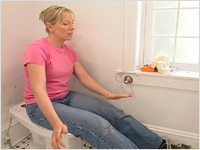
- Sit on it and twist it gently to ensure that the toilet is sealed properly. This is called “seating.” (see fig. F)
 |
|
 |
| Fig. E |
|
Fig. F |
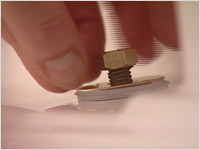
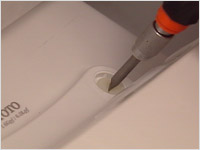
- Place the plastic ring, then the washer and then the nut on to the bolts. Tighten the toilet into position. But don’t tighten too much or you might crack the porcelain. (see fig. G)
- The tank comes fully ready to be attached to the back of the toilet. Tighten the bolts to hold it in place but again, not too tight. You don’t want to crack the tank. (see figs. H & I)
 |
|
 |
| Fig. G |
|
Fig. H |
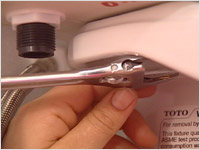
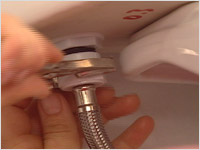
- Hook up the water supply, using plumbers putty on the connections. Place the tank lid in place. (see fig. J)
 |
|
 |
| Fig. I |
|
Fig. J |
- Attach the toilet seat to the bowl using the bolts provided. (Not too tight…) (see fig. K)
- Apply a ring of caulking around the base of the toilet, smoothing it with your finger.
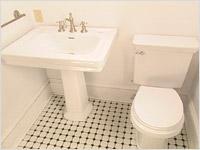
- Take a seat on your new throne, your majesty. (see fig. L)
 |
|
 |
| Fig. K |
|
Fig. L |
|
|