| | | | |
| |

|
|
Crown moulding is that extra touch that takes a room from “So-so” to “Wow.” A minimal expense pays off with a rich new look.
 |
 |
 |
 |
 |
 |
|
 |
DO place the best-looking piece across the room from the door. You want it to be seen first.
|
|
DON’T be in a hurry. Cutting and fitting the corners takes some patience (and maybe some cussing.)
|
|
 |
 |
 |
 |
That’s Mitre-Fine Crown Moulding You’ve Got There
- Select the crown moulding you want to achieve the desired effect. Prime and paint each piece.
- Measure the wall where the moulding is going to be.
- Cut the first piece of moulding square to run to the corner. (see fig. A)
- Measure the distance from the ceiling down where the bottom of the crown moulding will sit.
 |
|
 |
| Fig. A |
|
Fig. B |
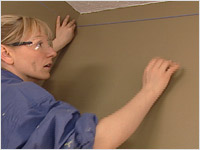
- Snap a chalk line across the distance of the wall for a guideline for the bottom of the moulding. (see fig. B)
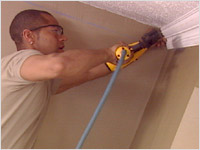
- Run a line of carpenters glue on the top and bottom entire length of the moulding that will be touching the wall or ceiling. (see fig. C)
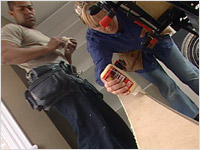
- Install the first piece across the room from the door. Nail this piece into the studs. (see fig. D)
 |
|
 |
| Fig. C |
|
Fig. D |
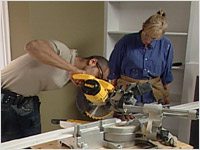
- Using a compound mitre saw cut the second piece (the one that meets it in the corner) to the appropriate angle to sit flush with the first piece of moulding. This will require some math.
- This exposes the profile of the crown moulding. Using a coping saw carve the back of the moulding to the shape of the corner piece. The joint must fit tightly.
- The coping saw must be held at a severe angle and even then it is sometimes difficult to pare away enough stock for a tight fit. If necessary, use a utility knife for small areas.
- This is where the cussing comes into play.
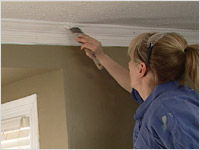
- When the joint fits tightly, nail this piece into place.
 |
|
 |
| Fig. E |
|
Fig. F |
- Each corner is completed in the same manner. The first piece is run square into the corner then the second piece is coped to fit tightly.
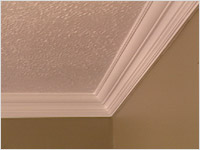
- When the room is complete, cover the nail holes with mastic putty and paint. (see fig. E)
- The finishing touch to your room is complete. All the fiddling and cussing was worth it! (see fig. F)
|
|